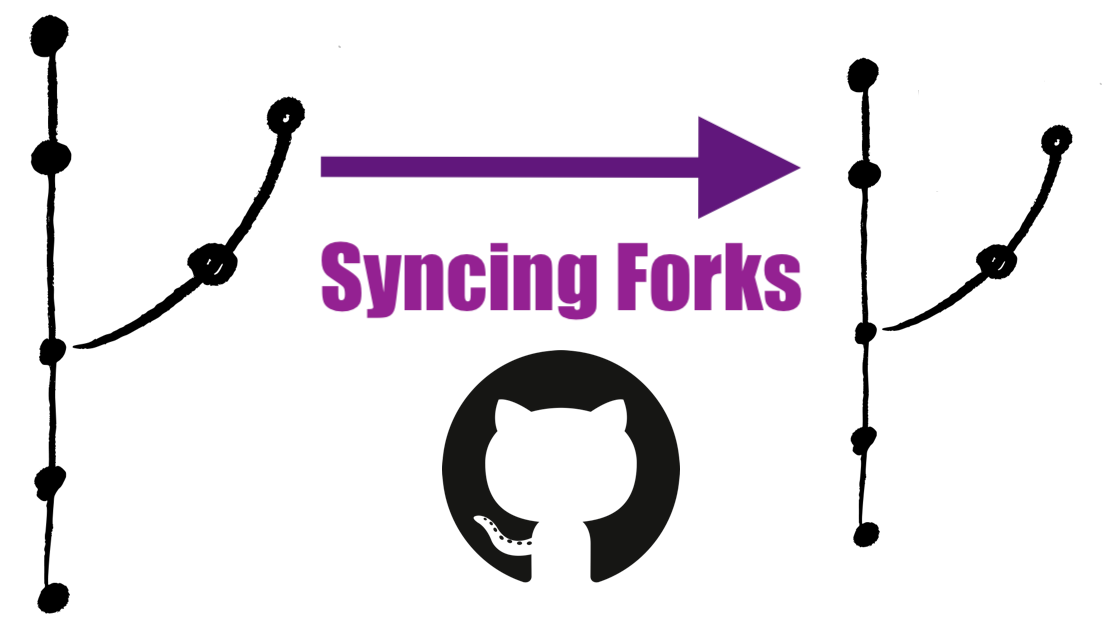
Keeping Your Forks Synced
So you've heard this GitHub thing is pretty sweet on collaboration.
You found a sweet project someone started on GitHub and followed some tutorial on forking this, cloning that, etc., etc. You do some extra work and make some commits on your version. All is looking great.
Then you see while you've been fiddling with your version of the project the original author put in a real cool feature. You want to include it on your version but you're not really sure how. You could try just copying & pasting the code. Or heck, just ditch your own work and work off that new version.
But you know you're better than that! You're one bad-ass learning whatever you need. And you figure others have had the same exact issue themselves when working on a new project. So there has to be a better way.
There is a better way! Enter GitHub forks! However, there is a caveat. Almost all solutions bring in the baggage of extra complexity. We specifically need to discuss syncing your fork. If you're not sure what a fork is exactly, the next section will give you a brief overview. If you're familiar enough with the forking concepts, you can skip the next section.
What the Fork?
Before we get into any specific details about dealing with GitHub's forks, it might help some to review what a fork is. When exploring new topics the formal documentation is usually a good place to start. GitHub does a great introduction that's worth checking out. But it's probably still worth summarizing a little bit.
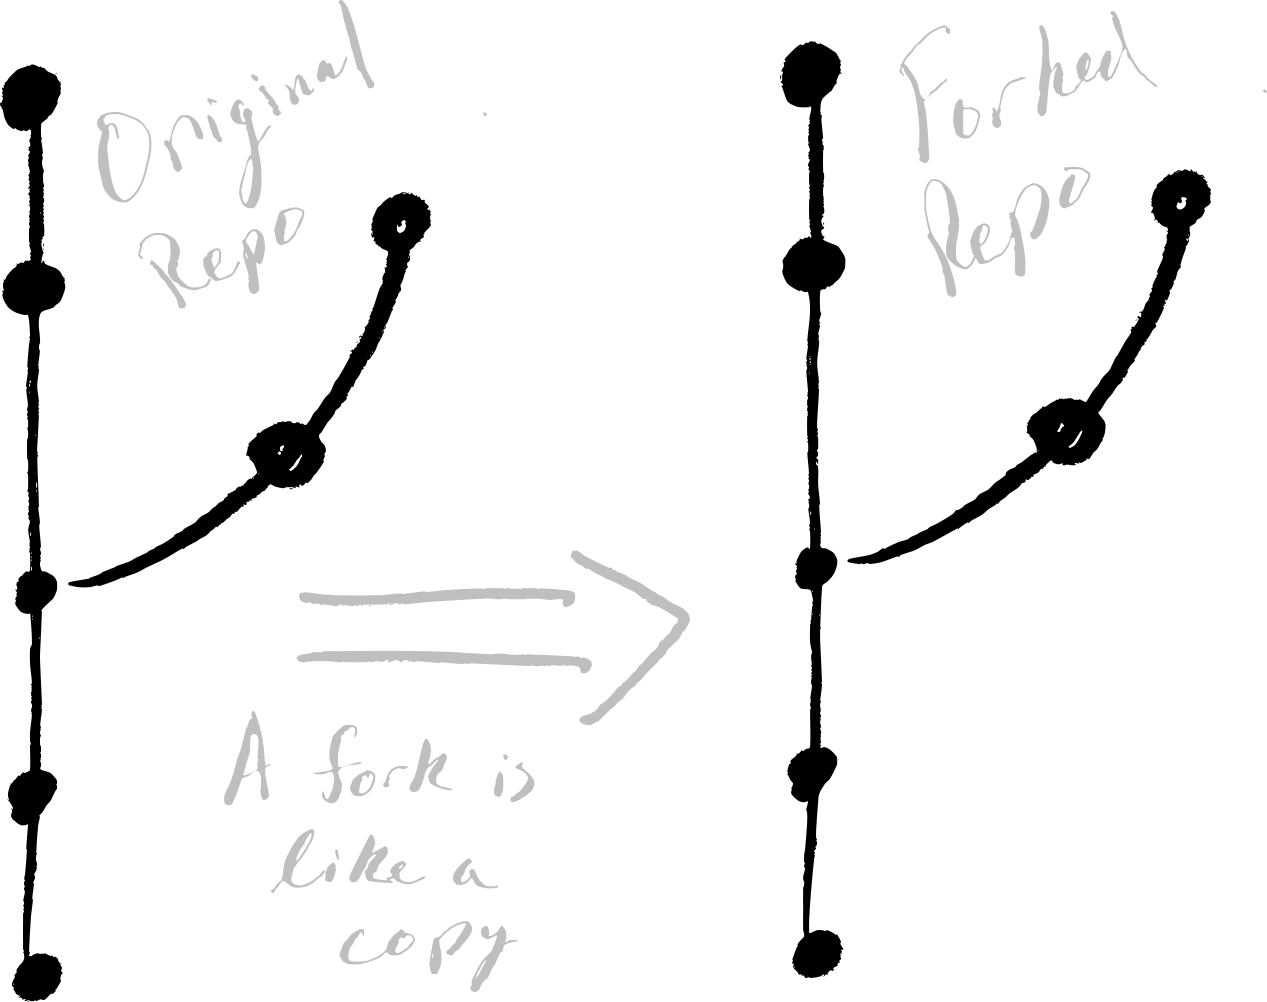
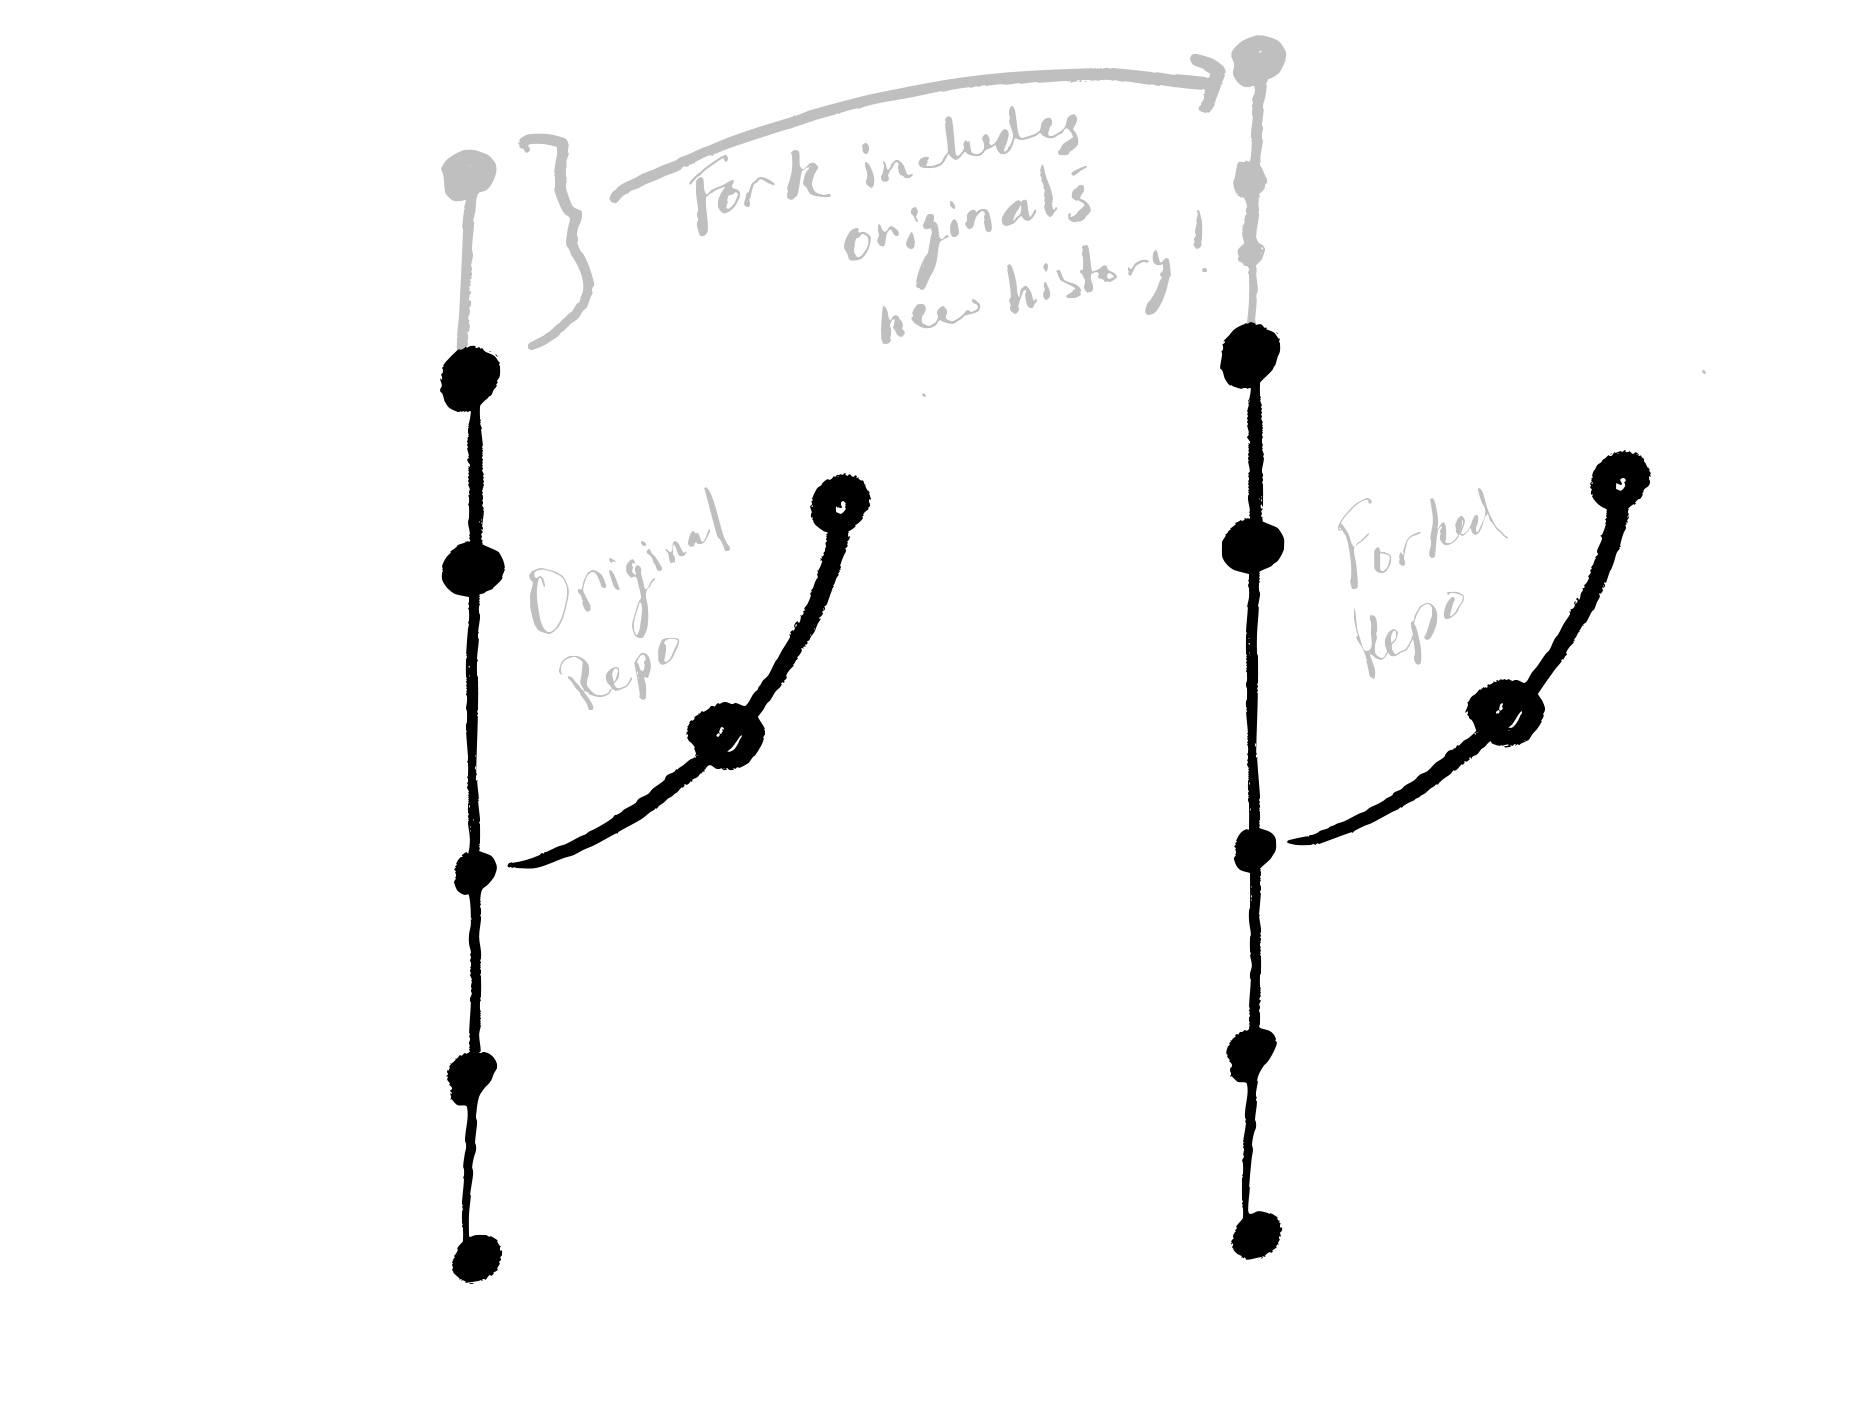
A fork is actually not part of the git version control system that hosting services like GitHub & GitLab is built on top of. A fork is simply a repository with some nifty extra features that can make collaborating on platforms like GitHub easier. You "fork" a project's repository, or repo, which will create a copy of that repository with the same commits, branches, and of course files.
When you fork a repo, you will create a new repo from that original repo at that point in time. You can then modify your new fork starting from the original's history. What's also nice is that you can keep a little record tying your fork to the original repo.
I like to think of forks as a kind of "super branch" of the original repository. When you create a branch, you have a shared commit history and a shared common commit ancestor. And now both branches can be changed independently from another. Similarly, both the original repo and fork have a shared point in time where they are identical. They can then be independently worked on as new commits are added.
We can create a new branch, make some new commits, and then merge them. This way both branches include each other's past commit histories. Merging branches is a powerful tool, if only we could do this with forks...
Well, we can! This is why forks are so great for collaboration; you can take someone's work, make some changes, and then merge the repositories together. (Technically they're between two branches from each repo.) GitHub calls these pull requests. We won't go into all that here (maybe for another time). Instead we're going to discuss what we do after we fork and the original project gets ahead of your fork.
Working with Parallel Universes
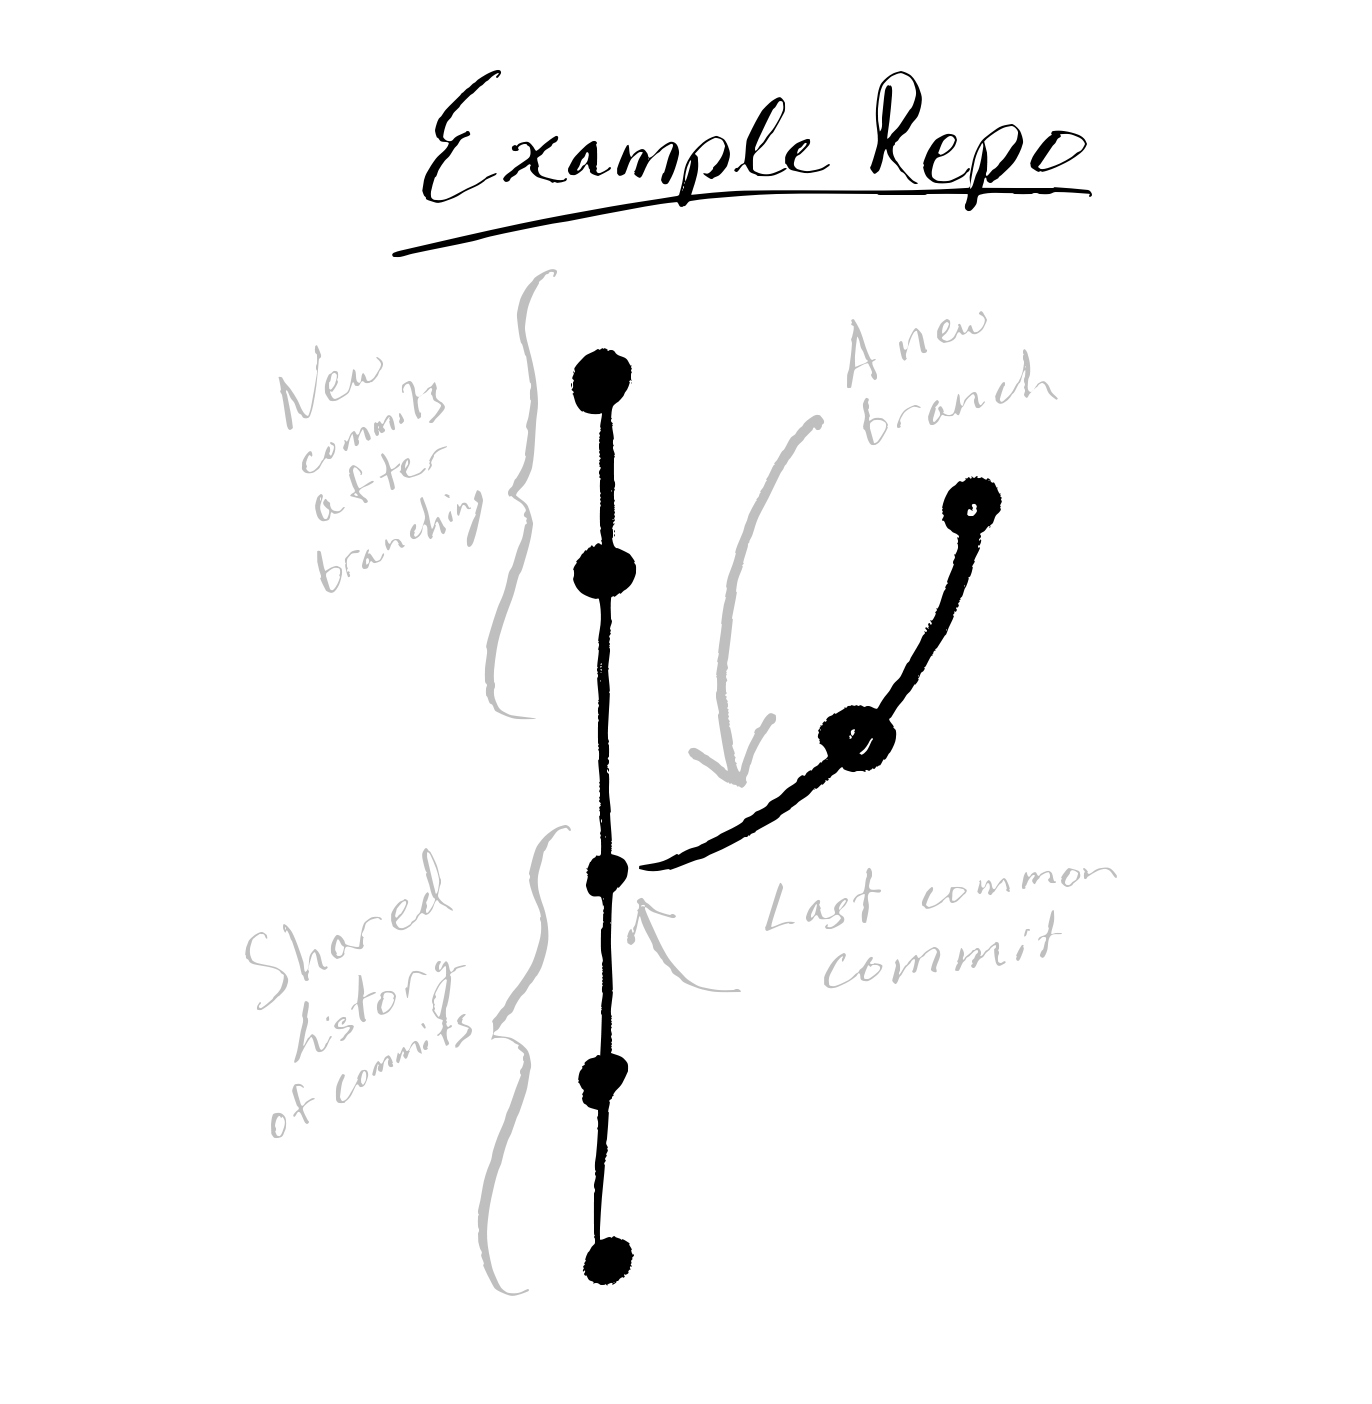
Branching is often compared to "parallel universes" in that when a branch is created, it shares a common (commit) history with a branch. After that point, each branch can continue on its own history. If you later want to incorporate some changes from a branch into a different one, we can do a merge on the branch.
For the record, there is a great tutorial from Atlassian on git merge.
Well, a fork is really similar to a branch. So it turns out we can basically use the same merge workflow with a fork and the original repo. It does get a little tricky since it really isn't a branch. But you'll likely find it not that bad following the steps in the section below.
Let's recall the situation:
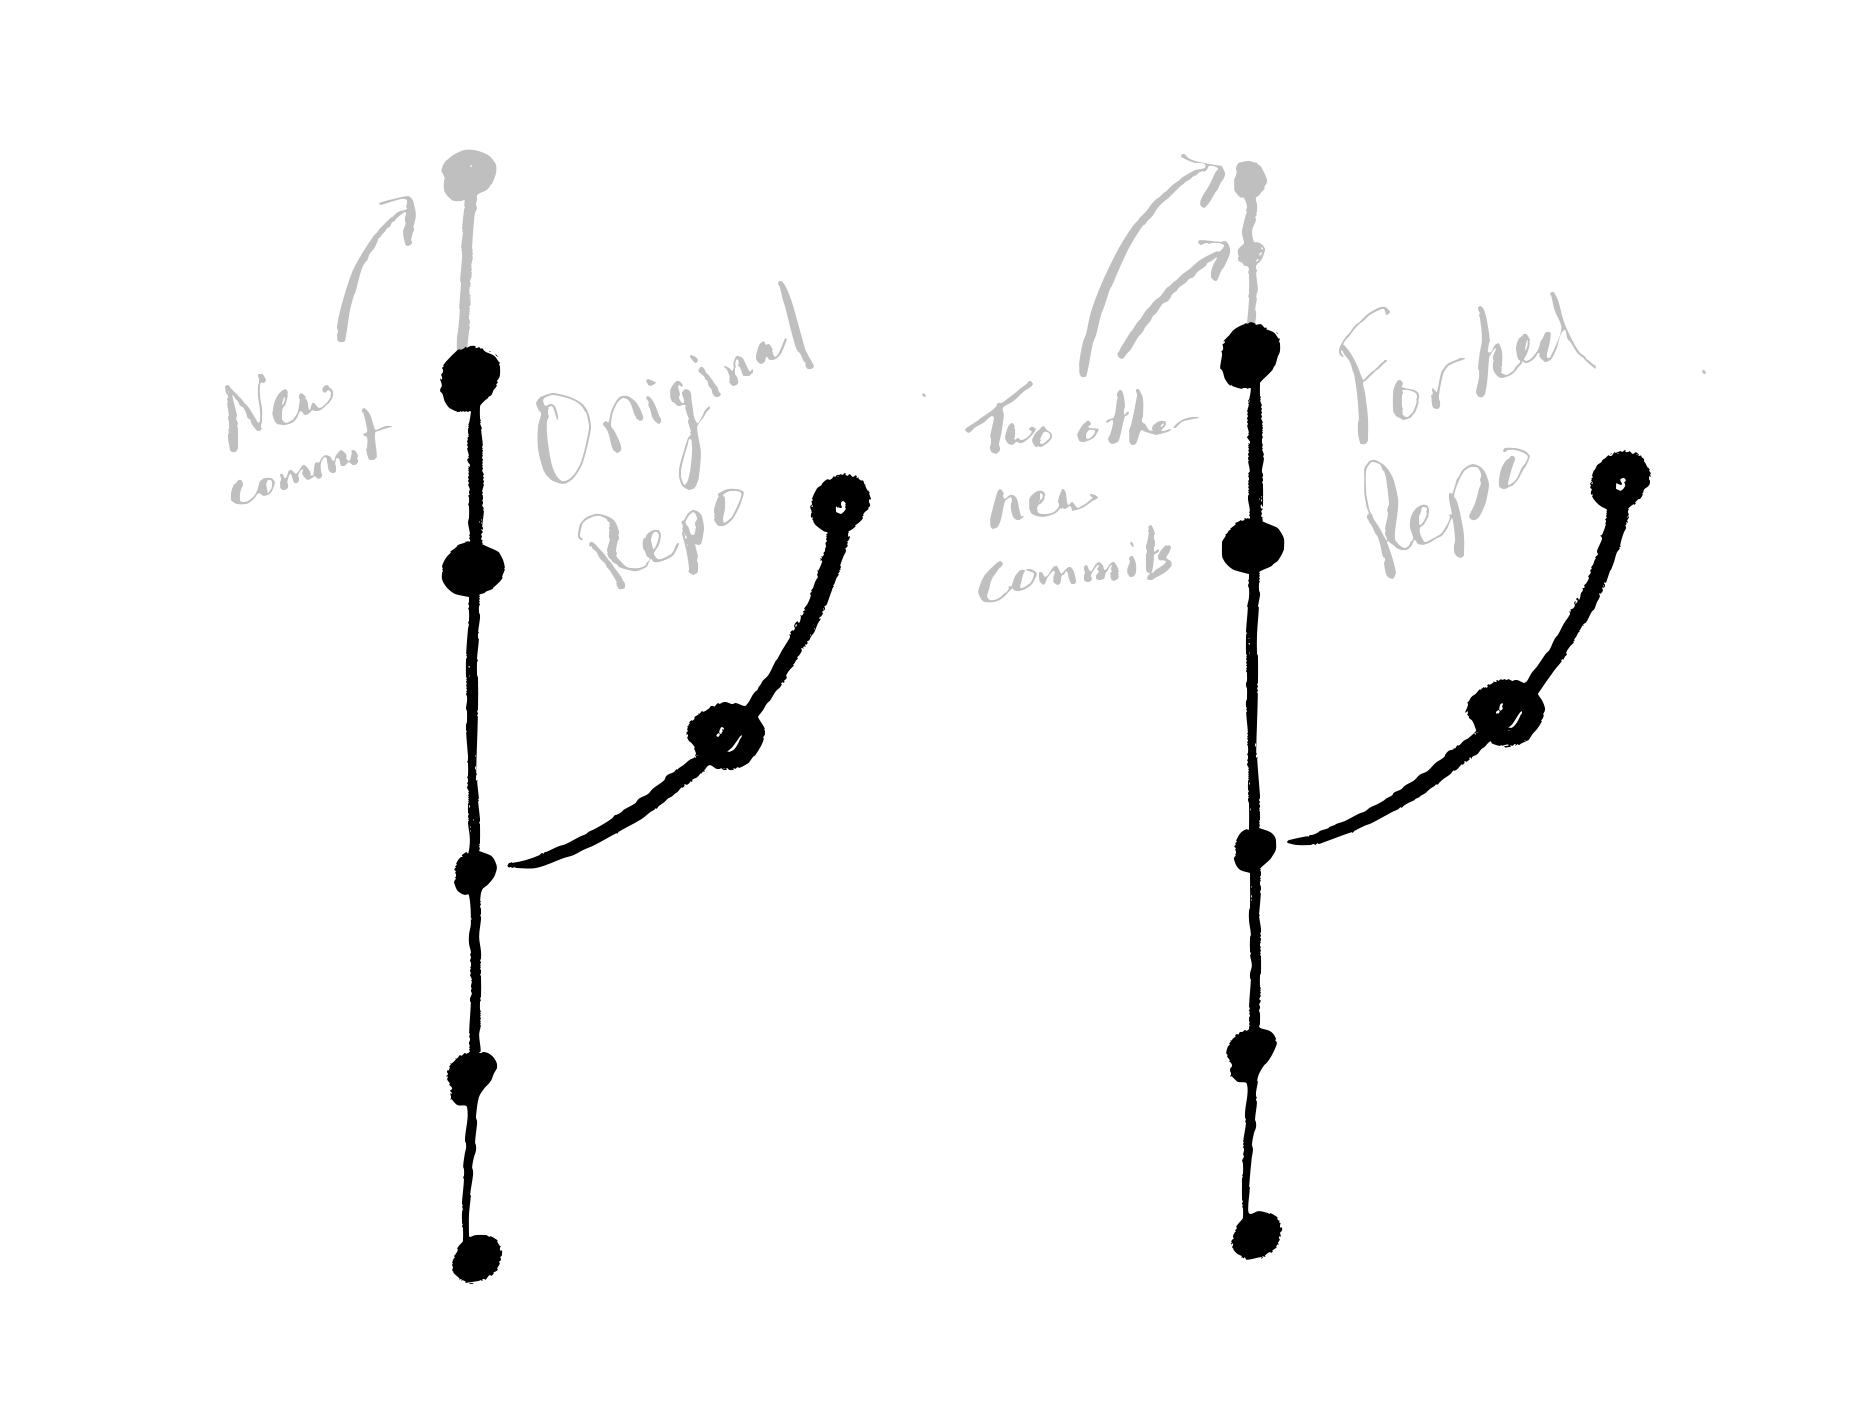
You already forked a repo. Maybe you even added your spice to this forked repo and made some commits. Then you see the original repo has made some changes. You want to incorporate the new history into your forked repo without having to completely start over.
Solution is Syncing: Incorporate Changes from Original to Forked Repo
Step 1: Add a remote to the original repo
We first need to configure a remote pointing to the original repo you forked. This will allow your repo to know where to look for the updated history of the original repo.
To do this, we open up a terminal on our computer and navigate to our (forked) repo. Next we add a new remote repository called upstream which will point to the original repo:
git remote add upstream https://github.com/ORIGINAL_OWNER/ORIGINAL_REPOSITORY.git
In the above command, https://github.com/ORIGINAL_OWNER/ORIGINAL_REPOSITORY.git should be the link to the original repo (not your forked one). This tells your repo the location of the original repo.
Just to ensure it all worked out, we can check our remotes with git remote -v. You should see a link to your forked repo (typically we used the name origin) and a link to the original called upstream. The output should look something like this:
$ git remote -v
> origin    https://github.com/YOUR_USERNAME/YOUR_FORK.git (fetch)
> origin    https://github.com/YOUR_USERNAME/YOUR_FORK.git (push)
> upstream  https://github.com/ORIGINAL_OWNER/ORIGINAL_REPOSITORY.git (fetch)
> upstream  https://github.com/ORIGINAL_OWNER/ORIGINAL_REPOSITORY.git (push)
Note that we called this new remote
upstreambut you easily could have named it something else likeoriginal_repo. But we did this since the naming scheme above is common practice.
You can review the summary of these steps from GitHub's documentation on "Configuring a remote for a fork"
Step 2: Fetch the changes from the original
Alright, now that we have the remote configured we're going to have to get the current history from the original repo.
We can do this with the following command:
git fetch upstream
Note if used a different name than
upstream, you'll have to use that instead.
This will fetch the most up to date history on all the branches (similar to a git pull on a single branch). After that's completed, we will be able to incorporate the changes from a branch of the original repo into our own repo.
Step 3: Merge changes into your repo's working branch
This leads us to the moment we've been waiting for; merging the changes into our own repo! 🎉
The really cool thing is if you're comfortable with merging, it's the same process!
First, make sure you're on the proper branch in your forked repo where you want the changes to be included. You might have to do a checkout like git checkout main.
Once you're sure you're on the proper branch, we can merge the changes from the original repo (upstream) branch. The command will be something like this depending on the branch name:
git merge upstream/main
Note that here we're doing a merge from the
mainbranch of the original repo. If the branch is called something different, you should change the name of that branch.
And that's it! If all is well the output should look something like this:
$ git merge upstream/main
> Updating q3f2742..4f55dbc
> Fast-forward
>  TEMP                      |    5 -----
>  README.md                 |    3 +++
>  2 files changed, 3 insertions(+), 5 deletions(-)
>  delete mode 100644 TEMP
>  create mode 100644 README.md
Note that you may come across a merge conflict at this step. You can follow the same steps as you would if you were merging two branches.
All Set & Synced!
And we're done! Just to review, we added a remote to the original repo, fetched the history, and finally checked out our forked repo's branch and merge the original repo's branch into ours! We could do this like the set of commands below:
git remote add upstream https://github.com/ORIGINAL_OWNER/ORIGINAL_REPOSITORY.git
git fetch upstream
git checkout main
git merge upstream/main
If you want to go into more detail, you might want to checkout this set of fork tutorials from GitHub.
Also, feel free to checkout the accompanying video on syncing GitHub forks!
<iframe width="560" height="315" src="https://www.youtube.com/embed/q2fQMD1gLPI" frameborder="0" allow="accelerometer; autoplay; clipboard-write; encrypted-media; gyroscope; picture-in-picture" allowfullscreen>